> ## Documentation Index
> Fetch the complete documentation index at: https://help.polygon-one.com/llms.txt
> Use this file to discover all available pages before exploring further.
# Company Account
> Account creation and setup by Polygon One
## Account Creation
Your company account with Polygon One is created for you **by the Polygon One team**. You will receive an invitation by email with which you can log in to the platform.
You do not need to register yourself. The Polygon One team sets up your account and ensures that all necessary settings are configured correctly.
## What Is Set Up?
During account creation, the following information is recorded:
* **Company name** and legal details
* **Address** (street, postal code, city, country)
* **Email** and **contact person**
## First Steps After Logging In
You receive an email with a link to the platform.
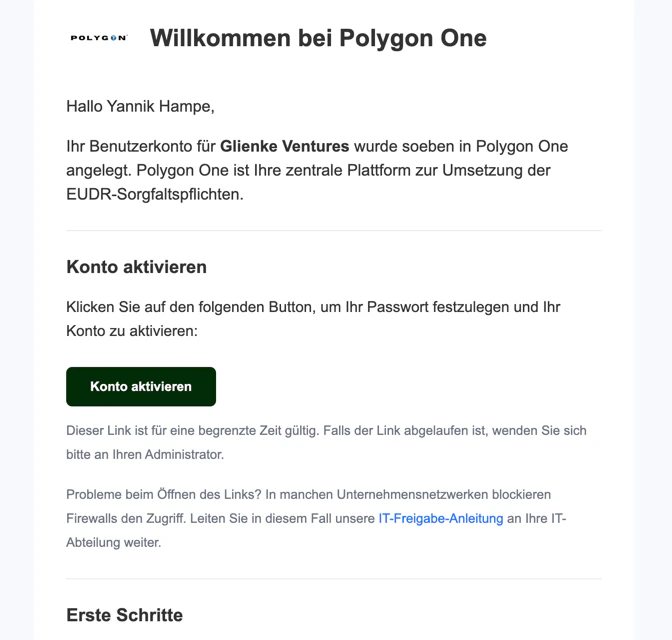 Sign in with your email address and password.
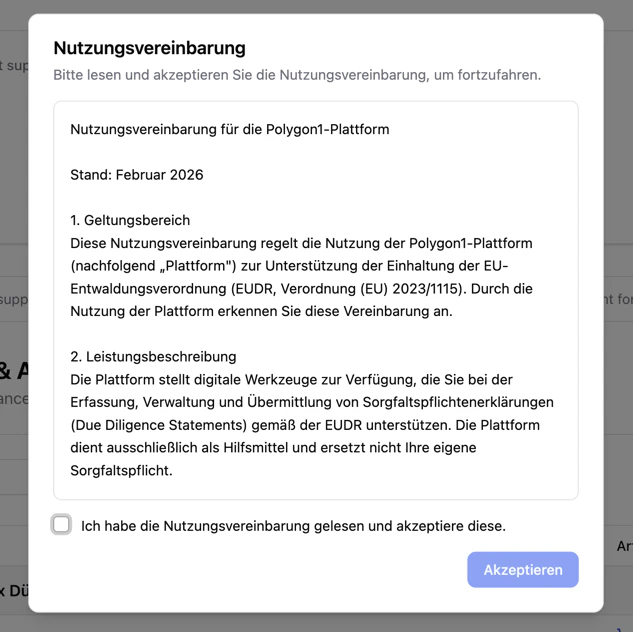
After your first login, you will be prompted to accept our terms of use.
Sign in with your email address and password.
After your first login, you will be prompted to accept our terms of use.
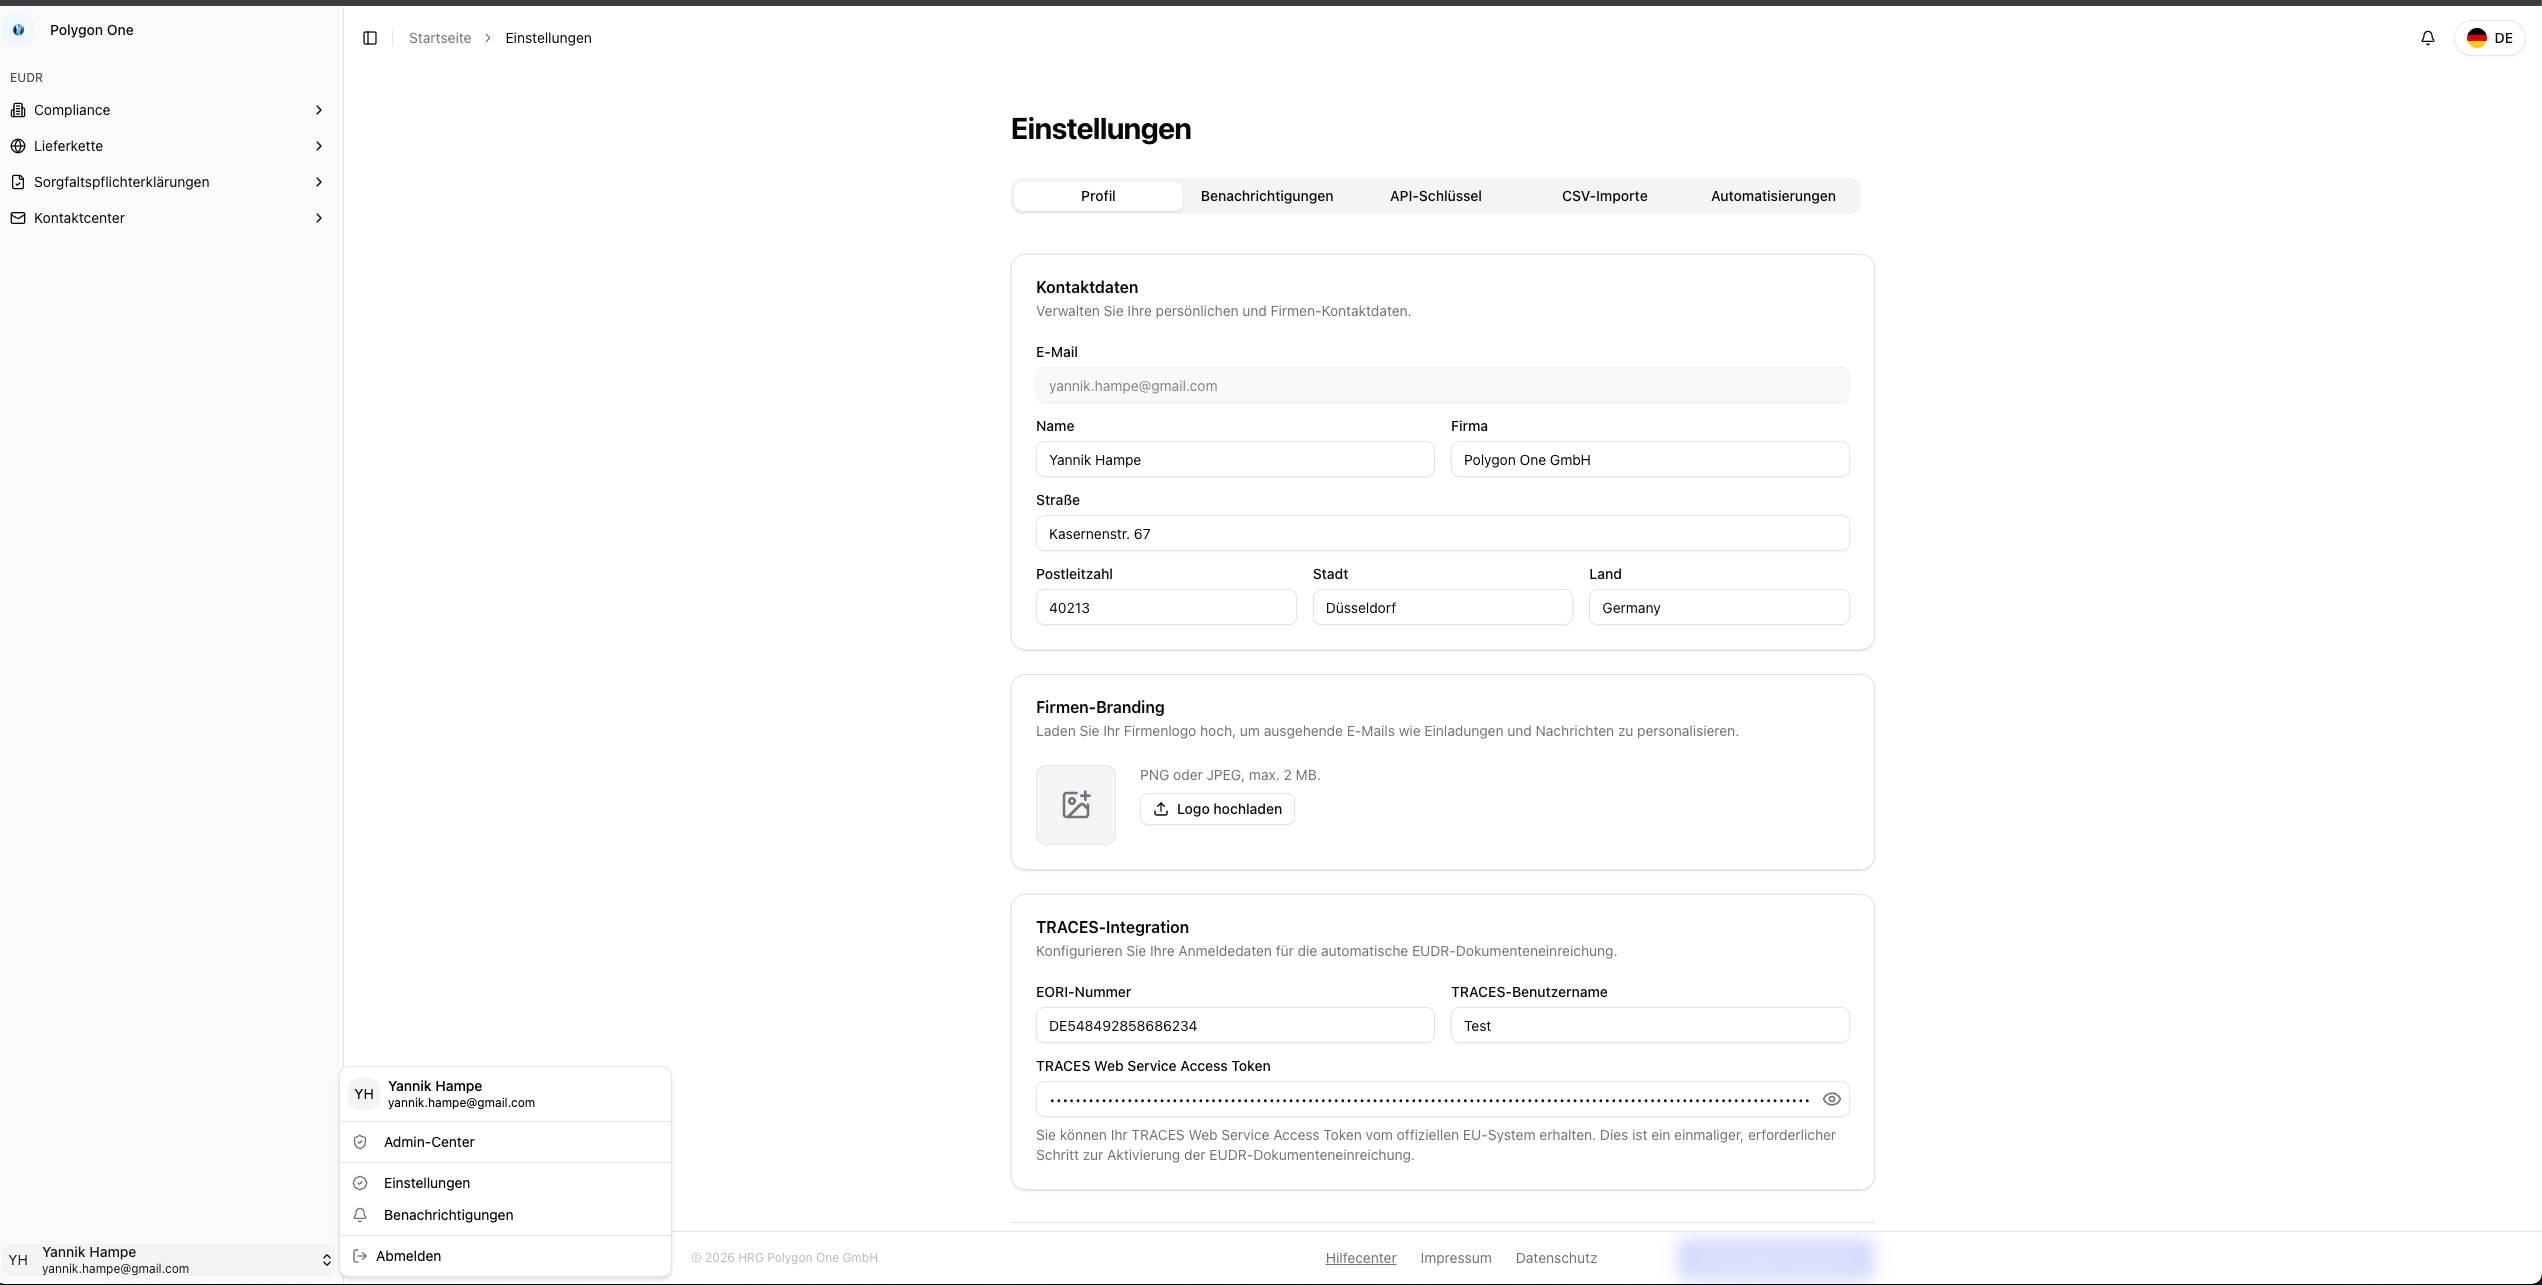
 When you click your **Profile** at the bottom left and then open **Settings → Profile**, you can configure your company data, the TRACES integration, and your company branding (logo for emails).
## Settings
Under **Settings**, you will find the following areas:
When you click your **Profile** at the bottom left and then open **Settings → Profile**, you can configure your company data, the TRACES integration, and your company branding (logo for emails).
## Settings
Under **Settings**, you will find the following areas:
 | Area | Description |
| ----------------- | ------------------------------------------------------------------------------------------ |
| **Profile** | Contact details, TRACES integration, EORI number, company branding |
| **Notifications** | Configure email and in-app notifications |
| **API Keys** | Create and manage API access tokens for ERP integration |
| **CSV Imports** | Configure column mapping for article, supplier, order, plot, and bill-of-materials imports |
| **Automations** | Configure automatic DDS assignment and creation |
If you need changes to your company data or have questions about the setup, contact the Polygon One support team.
| Area | Description |
| ----------------- | ------------------------------------------------------------------------------------------ |
| **Profile** | Contact details, TRACES integration, EORI number, company branding |
| **Notifications** | Configure email and in-app notifications |
| **API Keys** | Create and manage API access tokens for ERP integration |
| **CSV Imports** | Configure column mapping for article, supplier, order, plot, and bill-of-materials imports |
| **Automations** | Configure automatic DDS assignment and creation |
If you need changes to your company data or have questions about the setup, contact the Polygon One support team.