

Overview
Under Settings, you manage your company profile, integrations, and automations. The page is currently divided into five areas: Profile, Notifications, API Keys, CSV Imports, and Automations.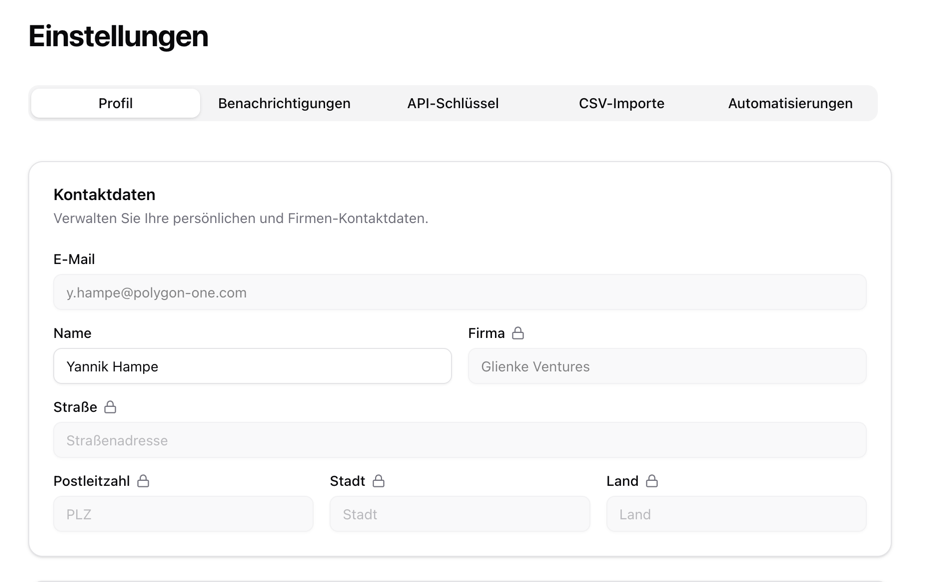
Settings — profile overview
Profile
Contact Details
Maintain your company’s master data:Company Branding
Upload your company logo (PNG or JPEG, max. 2 MB). The logo is displayed in reports and in the supplier portal.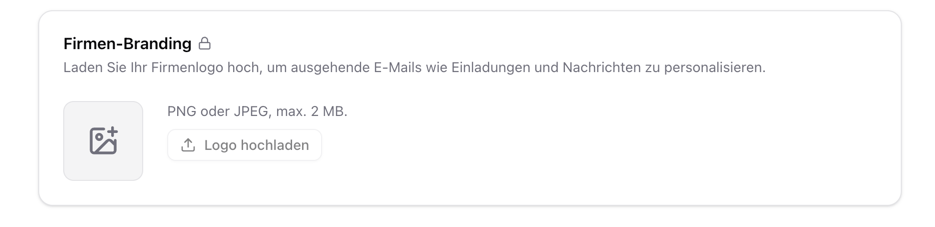
Upload company logo
TRACES Integration
Connect Polygon One with the EU TRACES-NT system for automatic DDS submission:You obtain your TRACES credentials through the EU Login portal. A step-by-step guide is available under TRACES Registration.
Confidential Geolocation
Enable the option “Confidential treatment of geolocation data” to request confidential treatment of your geo data in DDS submissions.Change Password
In the Change Password area, you can update your login password. You will need your current password to do so.Notifications
Control which notifications you receive through which channel.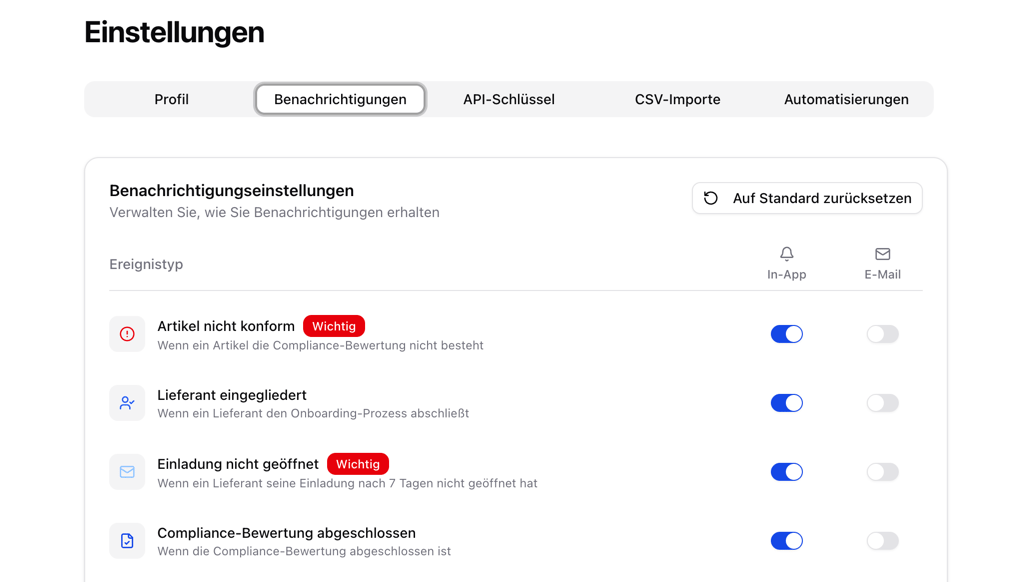
Notification settings with channel toggles
Particularly important events (e.g., failed DDS submissions) are marked with the “Important” badge.
API Keys
Create API keys to integrate Polygon One into your system landscape.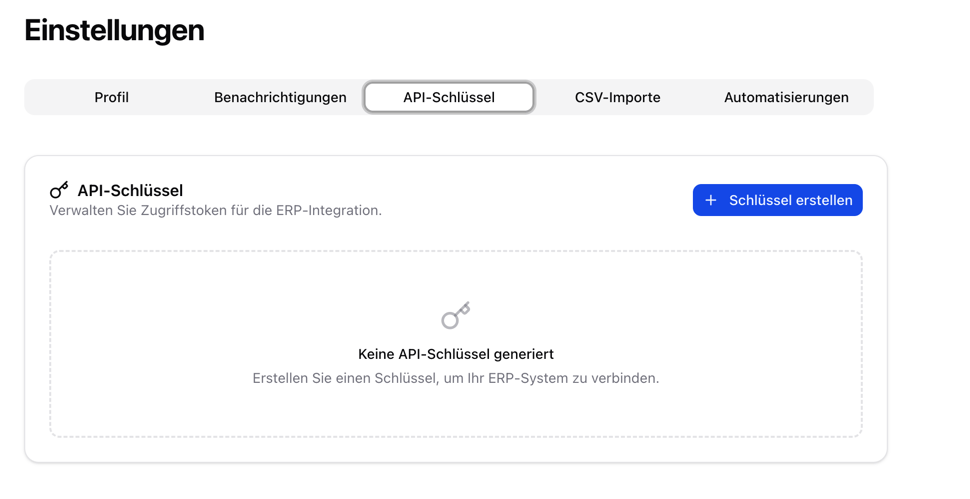
Manage API keys
Create a Key
1
Open the dialog
Click “Create key”.
2
Set the name and permissions
Assign a name and select the desired permissions:
3
Copy the key
The API key is displayed only once. Copy it immediately and store it securely.
CSV Imports
Configure the column mapping for CSV imports. In the EUDR module, five data types are available:- Articles
- Suppliers
- Orders
- Plots
- Bill of Materials
Map your CSV column headers to the Polygon One fields (e.g.,
HS code, article name, commodity group). Required and optional fields are clearly marked.The tabs depend on the module: in the PPWR module you find Packaging units, Components, Suppliers and Articles here instead. A saved mapping applies per data type for your whole company.
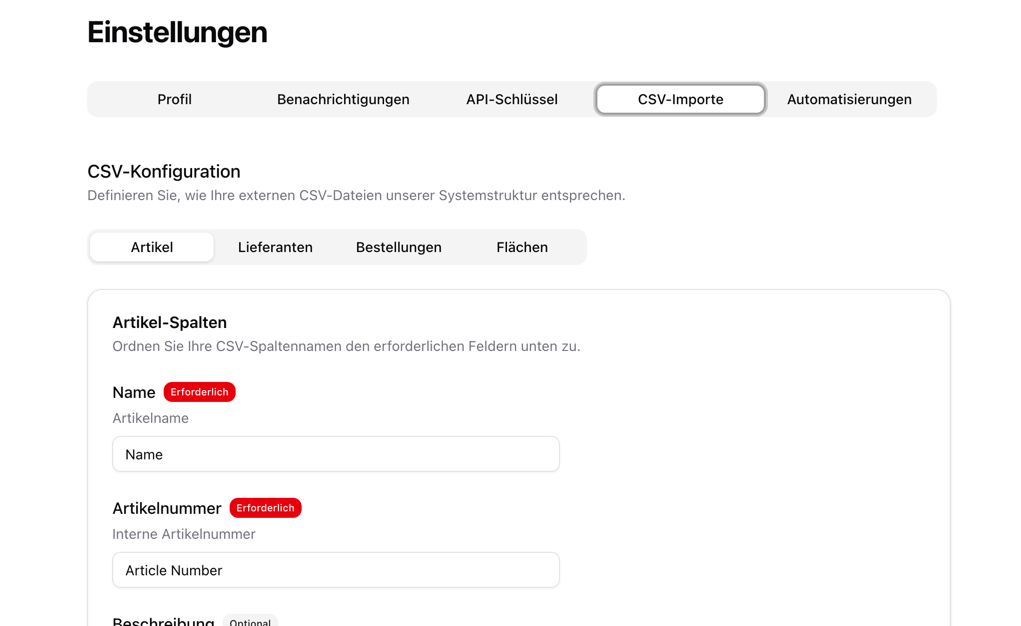
CSV import — configure column mapping
Value Mappings
In addition to columns, you can also map values. Without any configuration, coded columns already accept two spellings: the code (purchase, plastic) and the label in your interface language (Purchase, Plastic — Einkauf, Kunststoff on a German login). You only need a mapping for spellings beyond those — an internal name such as PE film or an ERP abbreviation such as PO. Store it once instead of rewriting the file. This is exactly what the “Invalid value” error in the import result points to.
1
Open the value mappings
In the relevant tab, click Custom value mappings under the column in question. The section only appears for coded columns — columns with a fixed value list such as Article Type, Order Type, Source varies per order, Packaging Type, Role or Materials.
2
Enter your own spelling
For each accepted value there is a “CSV value for …” field. Enter the spelling used in your file — e.g.
PO in the field for Purchase (purchase).3
Save
Save Mappings. The mapping applies to every subsequent import of that data type.
- Exactly one own spelling per accepted value (1:1). If your file contains several variants of the same value, unify them beforehand.
- Matching ignores case and surrounding whitespace.
- The code itself is always accepted, even when a mapping is stored. For one and the same spelling the order is: code first, then your mapping, then the shipped label — so your mapping overrides the label, never the code.
- In list columns (e.g. Materials on PPWR components), every value in the list is mapped individually.
- Empty fields mean “no mapping”.
Automations
Automate recurring steps in the DDS workflow.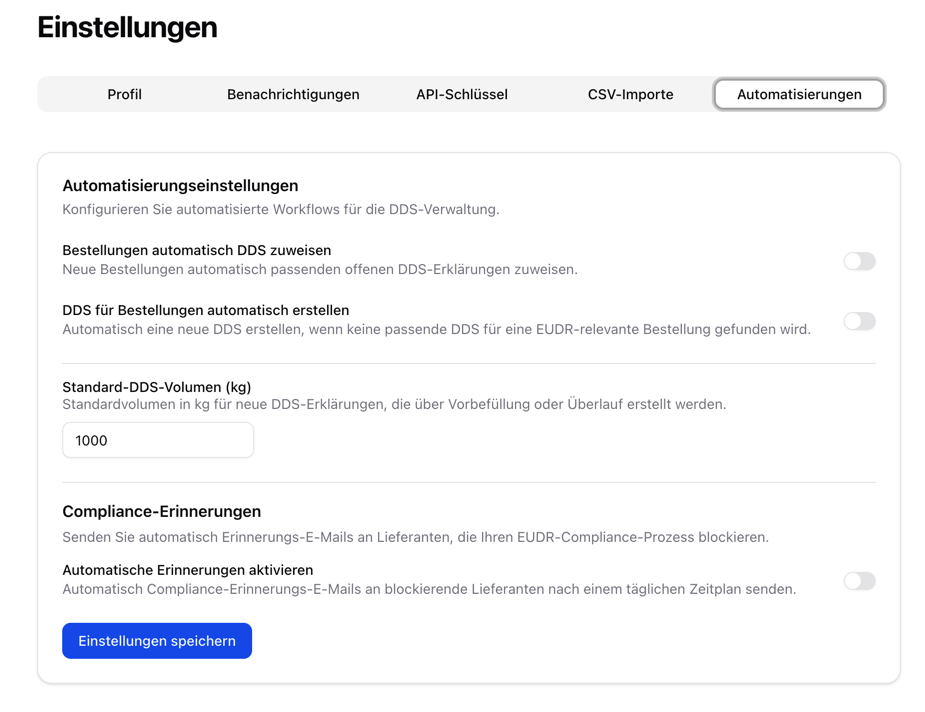
Automation settings
Orders & DDS
Analysis for Low-Risk Countries (Art. 13)
For origins in EUDR benchmark countries rated low risk, simplified due diligence applies (Art. 13) — no risk assessment and mitigation is required there. You can disable the automatic analysis for these origins and still run it manually at any time:Skipped plots count as complete for DDS creation. Both settings are enabled by default (analysis runs).
Invitation Reminders
Compliance Reminders
Send automatic reminders to suppliers who have not yet provided their compliance data:Compliance reminders are only sent to suppliers who have provided an email address and whose compliance status is still open.
Escalation Stages (optional)
Instead of a single reminder, you can configure a multi-stage escalation. As soon as stages are present, they replace the single reminder above: each stage waits its own number of days and sends its own message. After the last stage, the reminder ladder stops.
Multi-stage escalation of compliance reminders
Use “Add stage” to add more stages and “Remove” to delete individual ones. Without configured stages, the simple reminder with delay and cooldown applies.